My process of 3D modeling using Fusion360
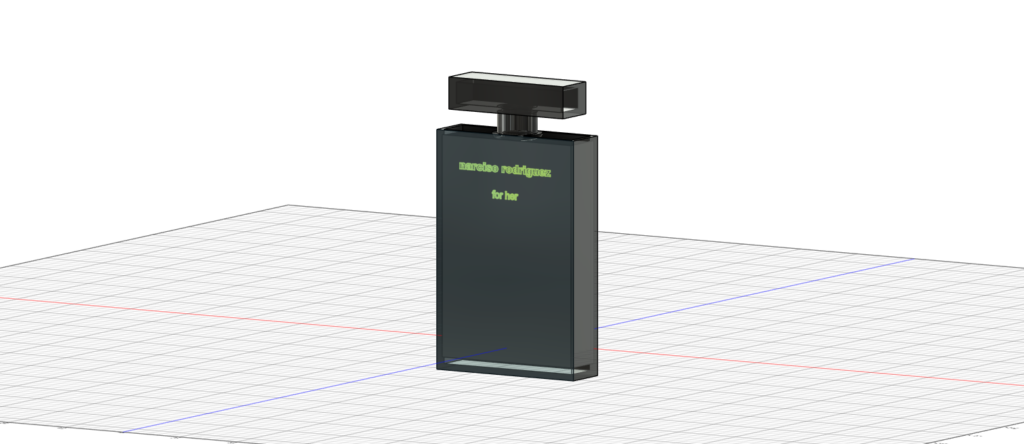
Learning to use Fusion 360 was a bit confusing at first, especially getting familiar with the interface and understanding how to build shapes on the correct plane with the right dimensions. Navigating the 3D space and figuring out how to edit objects in ways that matched my intention took some time. However, as I worked through the process and got more comfortable with the tools, it became much easier, especially since I was working on a relatively simple object (a perfume bottle).
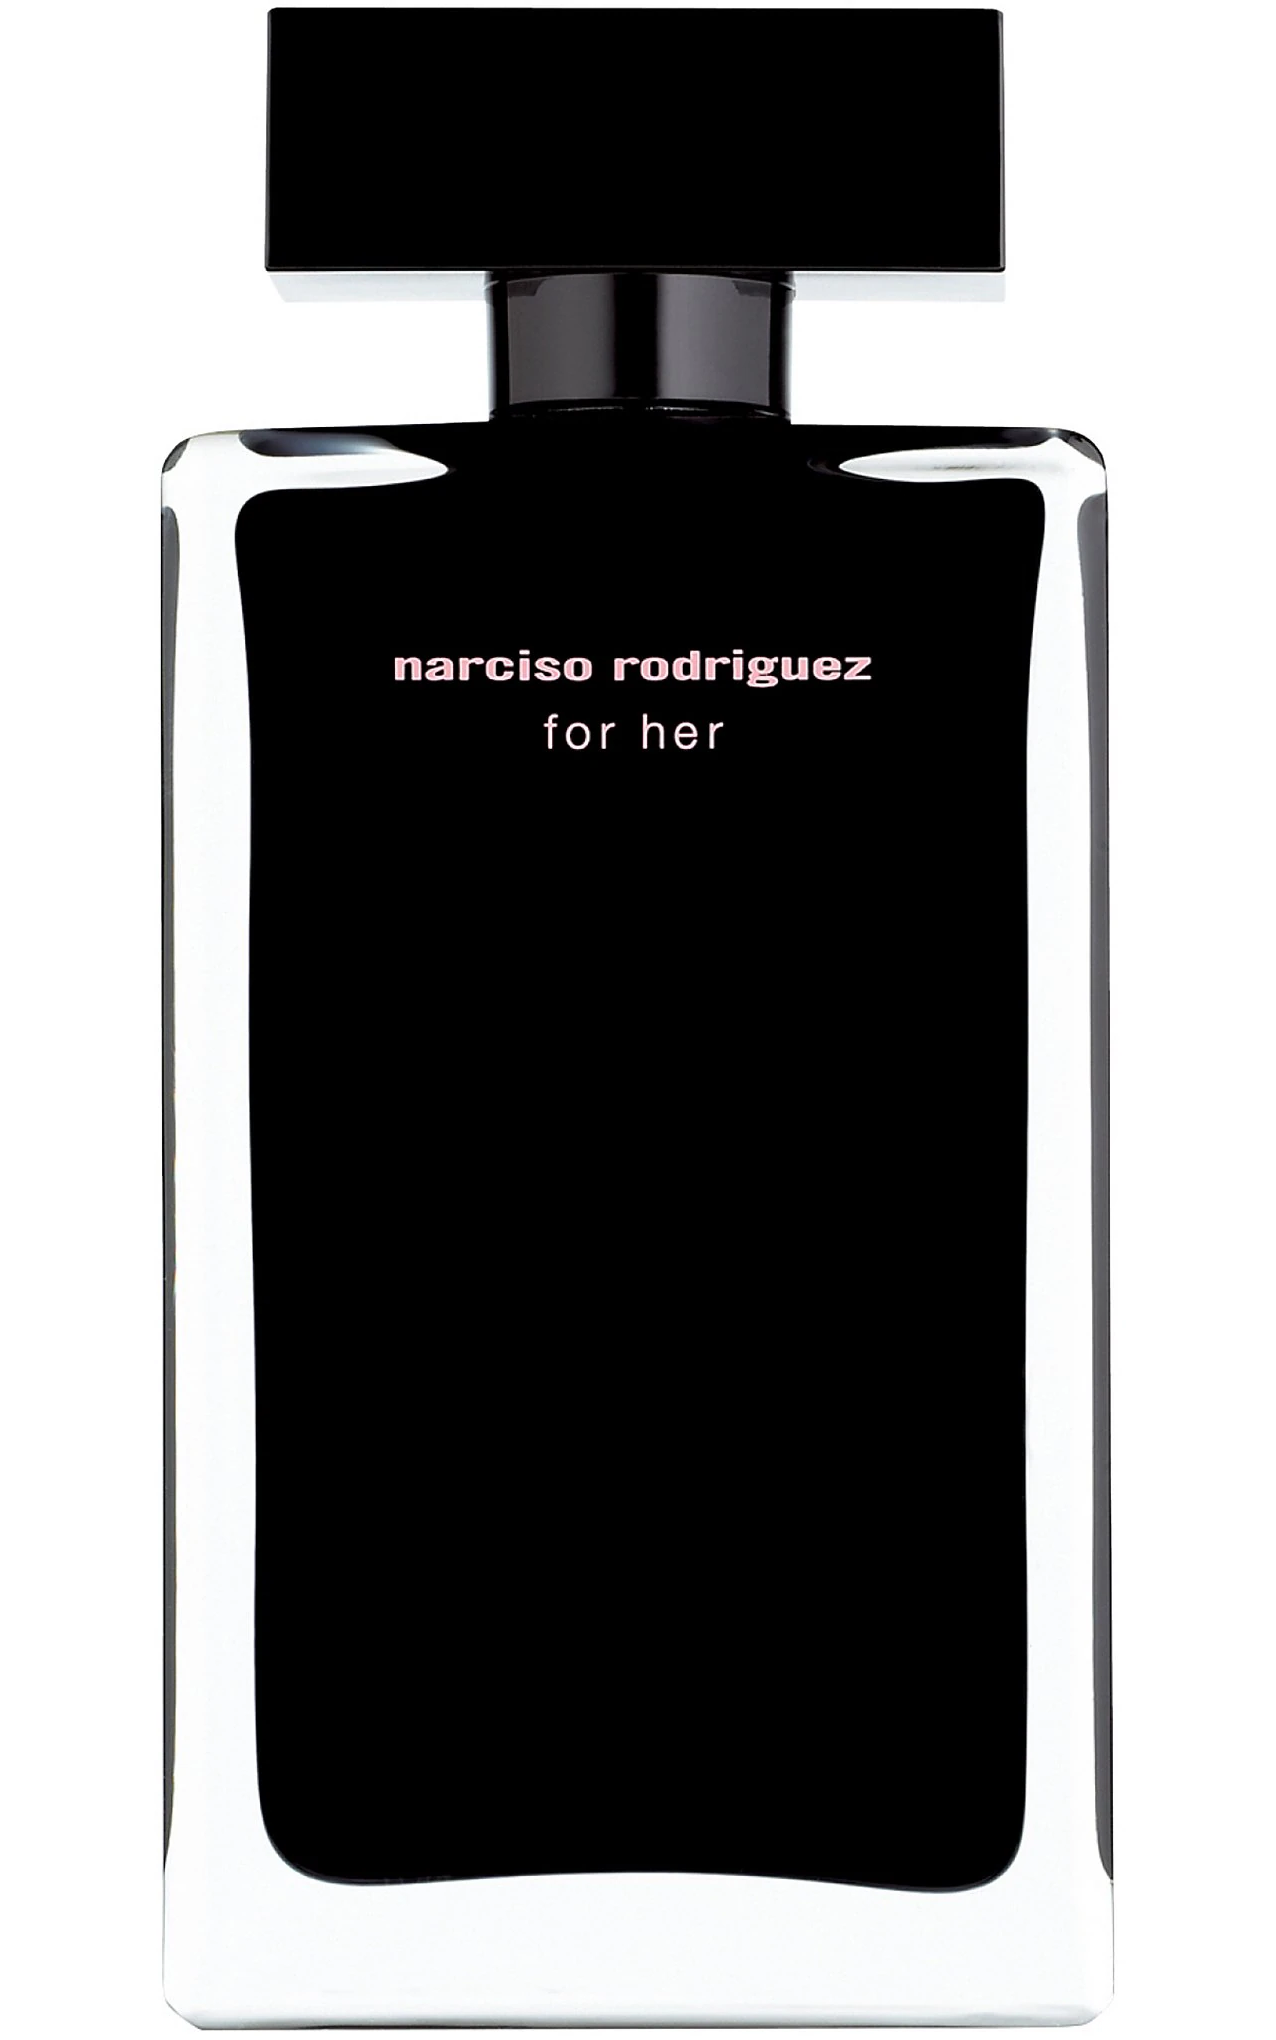
Dillard’s product listing for Narciso Rodriguez For Her Eau de Toilette
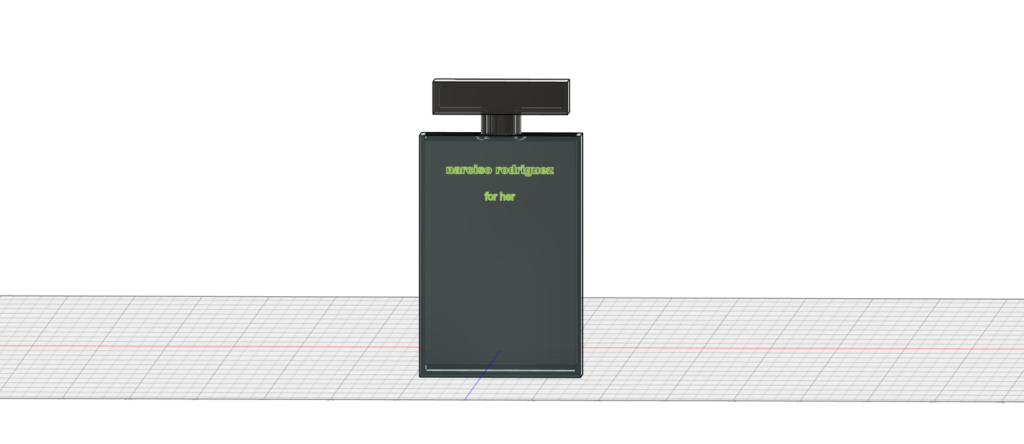
Some of the challenges I faced are with the extrude tool, where changes weren’t visible because they were happening in the wrong direction or blocked by another component. Figuring out how to seal the top of the bottle was tricky until I discovered the patch function. I also struggled with applying different textures and materials, I wanted to make the bottle body appear glass and the lid plastic, but couldn’t separate the surfaces effectively, so I chose to make the whole object glass instead. This wasn’t true to the original perfume design, but it turned out aesthetically pleasing and felt like a worthwhile compromise. Similarly, I had difficulty applying different textures inside and outside the shelled body, and I couldn’t change the text color from green to pink, though the green ended up looking modern and trendy in its own.

Despite these compromises, the process gave me a new appreciation for the potential of 3D modeling. Beyond Fusion 360 itself, I can see enormous value in 3D modeling for humanities scholarship and education. Digitally reconstructing objects, such as historical manuscripts, artifacts, architectural spaces, or artworks, allows for broader access to researchers and the public. Not everyone can travel to a museum or archive, but with virtual models, students and scholars can study rare or fragile objects in detail online, rotating, zooming, even simulating usage over time.
Tips for Fusion360
- Use the ViewCube often: it helps you quickly reorient your model to the front, top, or side view. This is especially helpful when you made your sketches or extrusions from one direction and later appear in a weird spot in another dimension.
- Learn to apply the right materials to the object: clicking a single face and assigning it a material (like plastic for the lid or glass for the bottle) gives you a more realistic look.
- Know the Patch and Shell tools: they’re great for sealing surfaces or hollowing out solids (like making a realistic bottle wall thickness).
Hi Rui,
Thanks for sharing. I like that you included the subject you were replicating because it gave me a visual of your work and your objective. Regarding your tips, I didn’t know about ViewCube, so I’ll definitely use that next time, as I had a hard time orienting my model efficiently. I also didn’t know that you can type on your 3D model, so I’ll try that out next time too.
I really like your work! The object is instantly recognizable, which shows how well you captured its shape and details. The logo looks just like the original product, which is impressive. I didn’t replicate the product logo in my own project, so it’s fun to see how you did it. The materials are applied nicely, too. Adding a glassy texture on the sides could make it even more realistic, though I know that might be too much for this assignment.